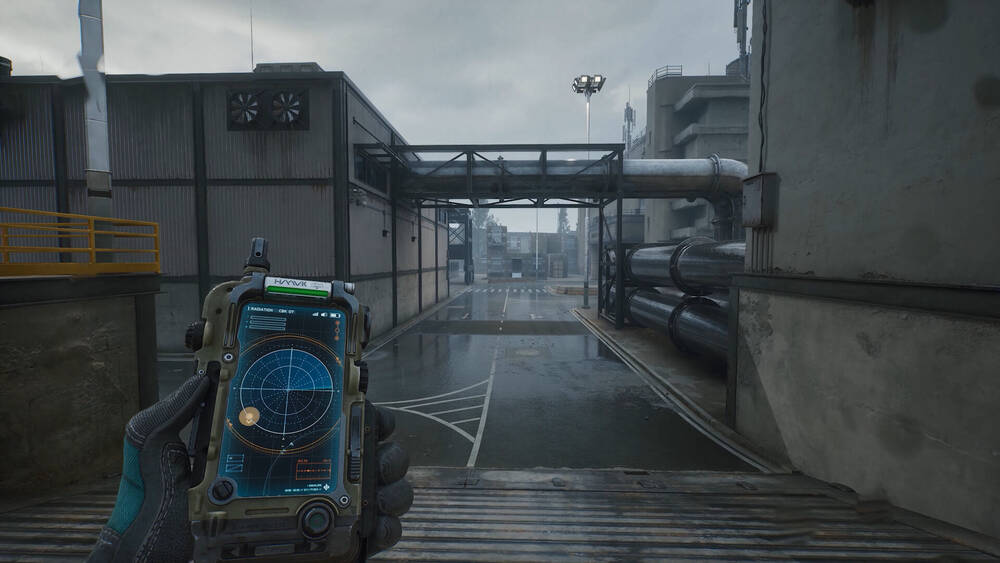
Hive Medic is the operator that keeps squads alive in Delta Force: Hawk Ops — and when played well, she is much more than a walking medkit. Her toolkit rewards positioning, timing, and a surprisingly aggressive trick with her Hormone Gun that most new players miss entirely. If you want to climb in either Havoc or All-Out Warfare, learning Hive Medic is one of the highest-ROI investments you can make.
This guide covers her full kit, the healing smoke combo that defines her playstyle, the Hormone Gun damage trick, and how to position her Grand ultimate so it actually wins fights.
Passive — Efficient Rescue (1.4s Revive)
Hive Medic's passive shortens her revive animation to 1.4 seconds — roughly half the time of other operators. In a game where a revive often happens under pressure, this is the difference between bringing a teammate back and getting killed mid-resurrect. It also affects her own self-revive timing, giving her a second chance after being downed.
Why this matters
- Faster revives mean you spend less time crouched and vulnerable.
- Enemies cannot "trade" the reviver as easily — your window of exposure is brutal to punish.
- In Havoc, a 1.4s revive during a contested extraction can save an entire loadout.
As Hive Medic, you are the primary reviver. Let your damage dealers push — your job is to clean up, reposition, and get people back in the fight within seconds.
Abilities — Hormone Gun, Hive Tech Smoke & Smoke Drone
Hormone Gun (6 Rounds)
The Hormone Gun is Hive Medic's weird and wonderful side-tool. It fires 6 rounds that, on allies, grant a small movement-speed and reload-speed buff. On enemies, those same rounds deal damage. Yes — your healing gun is also a gun.
| Property | Value |
|---|---|
| Magazine | 6 rounds |
| Ally effect | Buff: movement + reload speed |
| Enemy effect | Damage (not trivial at close range) |
| Best range | Short to mid — it is not a rifle |
If an enemy pushes you while you are mid-heal, do not panic-swap to your primary. The Hormone Gun can finish them off at close range — and it is faster to pull the trigger than to ADS with your main. Veteran Hive Medics routinely clutch 1v1s this way.
Hive Tech Smoke — The Core Combo
This is the ability that defines Hive Medic. Hive Tech Smoke launches a canister that drops smoke. Here is the key mechanic: if you shoot the smoke canister, the smoke turns green and becomes a healing cloud instead of just vision-blocking. Allies standing inside the green smoke regenerate health over time.
The combo, step by step
- Launch Hive Tech Smoke into the area where your team is fighting or needs cover.
- Immediately shoot the canister with any weapon.
- The smoke turns green and starts healing any allies inside it.
- Enemies in the same smoke still cannot see — but they are not healed.
This combo is one of the strongest defensive tools in the game. It lets you hold angles through superior vision denial and sustain your team through prolonged fights.
Smoke Drone
The Smoke Drone is a deployable aerial unit that drops smoke in a target area. It extends your reach — you can deny a push or cover a retreat from well outside the immediate fight. Treat it as a "save for the important moment" tool rather than something to spam.
Grand — Area Denial Healing Field
Hive Medic's ultimate drops a large healing field. Allies inside regenerate quickly and gain damage resistance. Use it to:
- Hold a defensive position through a sustained push.
- Post-plant the area after your team takes a contested zone.
- Cover an extraction in Havoc while your squad regroups.
Core Combos
| Combo | Setup | Result |
|---|---|---|
| Smoke → Shoot → Hold | Launch smoke at chokepoint, shoot it green, hold angle behind it | Enemies cannot push; your team heals through the fight |
| Buff → Push | Hormone Gun teammates, then initiate engage | Faster movement and reloads win the first exchange |
| Grand + Smoke Stack | Pop Grand, layer two more smoke heals on top | Near-immortal defensive zone for ~15 seconds |
| Hormone Gun Finisher | Enemy pushes close during heal → Hormone Gun 2–3 shots | Clutch kill without swapping weapons |
Playstyle — Stay Behind, Stay Alive
Hive Medic is not a frontline operator. Her value comes from being alive long enough to use her kit, which means positioning behind your damage dealers, pre-shooting smoke canisters at likely engagement areas, and using the Hormone Gun only when you are not exposed.
Positioning rules
- Stay one room behind the push. You should hear the fight, not be in it.
- Pre-place healing. If you expect a push through a door, put smoke there before the enemy arrives.
- Track your Hormone Gun ammo. Six rounds is not a lot — do not waste them on already-full-health teammates.
- Save the drone for emergencies. Once you use it casually, you will wish you had it for the actual crisis.
Tier Placement — Solid T1
Hive Medic is a consistent T1 pick in both modes. She is not meta-breaking the way a top weapon might be, but she is always relevant, always useful, and always welcome in a coordinated squad. In solo-queue she drops slightly — because random teammates do not always stand in your healing smoke — but she still outperforms most operators in the hands of a thoughtful player.
Hive Medic is the operator you want in your squad when the match gets long, the fights get tough, and someone needs to keep the team in the game. Master the smoke combo, respect the Hormone Gun's damage trick, and you will win more matches than you lose.
Related Guides
Silver Wing Operator Guide
Recon, drone tactics, and info warfare — the operator who wins rounds before they start.
WeaponsWeapon Tier List 2026
Meta rankings for both Havoc and All-Out Warfare, plus analysis of why each weapon ranks where it does.
WeaponsBudget Weapon Builds
The best AKM, MK47, and QJB201 builds — all under 350K, with share codes included.